- Existing Certificate of Occupancy
- Registering on Tertius
- Logging in to Tertius
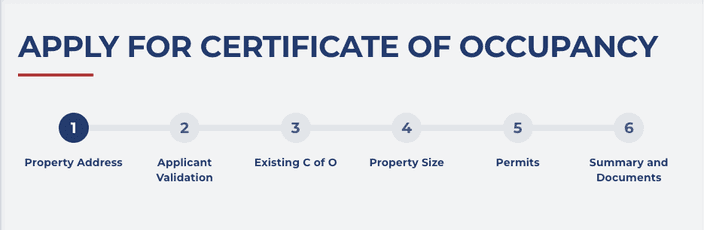
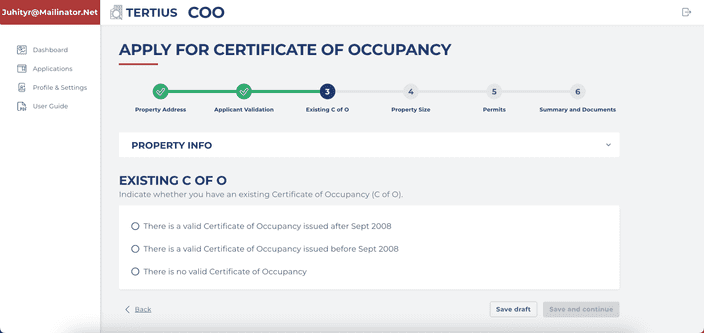
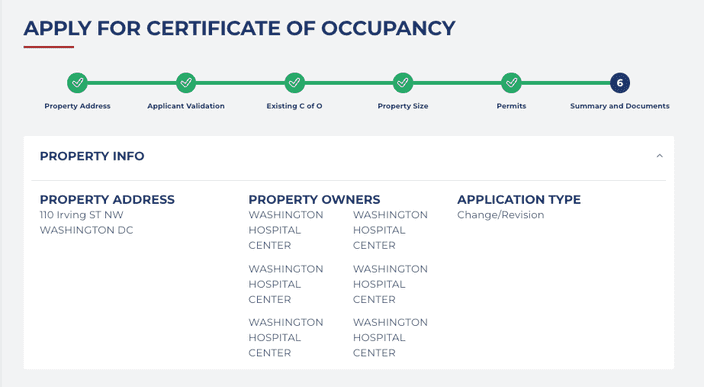
Applying for a Certificate of Occupancy includes 6 steps:
-
Property Address
-
Applicant Validation
-
Existing C of O
-
Property Size
-
Permits
-
Summary and Documents
All steps are depending on the previous one, so the next step opens only if you
- provided all the required data
- saved all the subsections of the preceding step.
Follow the specific order of steps above and the form guides you through the process.
The system will define the list of required documents based on the information you provide. You have to upload all necessary documents required for the application in the last step (6).
Provide data for the address of the property you want to make changes on.
- Fill the required fields of the Property Address form.
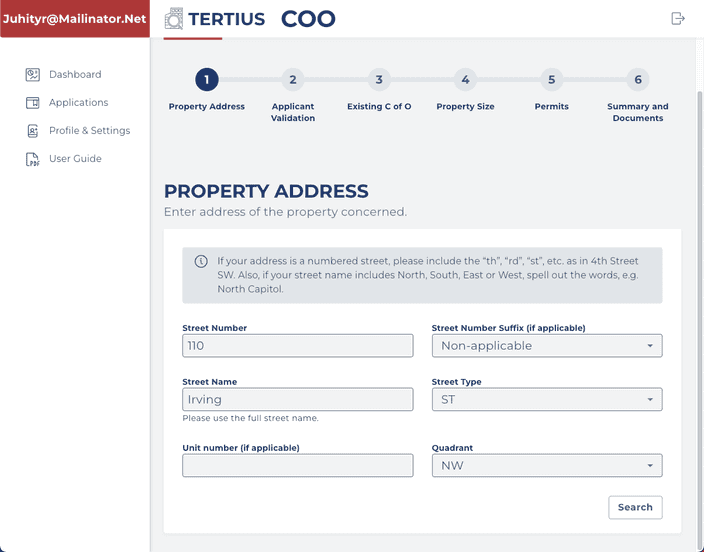
All fields are required by default and you have to enter data to proceed, unless it is marked as if applicable.
-
Click on Search.
-
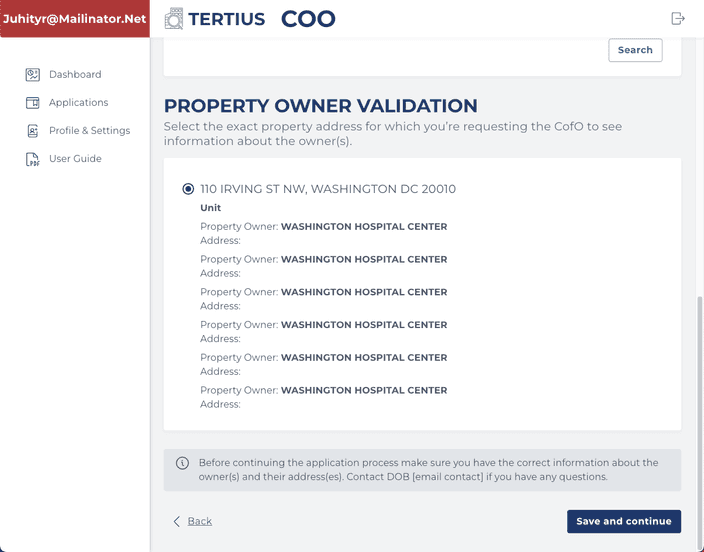
Find and select the correct address you want to use for the C of O. When you select an address, you will be able to see the **name of the owner(s) and their addresses as well
If you see more addresses in the list and it is difficult to choose, you can narrow down the search results by providing a unit number.

Important: Make sure you select the correct address, owner name and owner address before you continue the process, because the data selected in this step will be visible on the final C of O.
Contact DOB if you have any questions (e.g., you can’t find the address because it is a freshly purchased property and it is not updated in the database yet) or something is unclear about the addresses.
- Click on Save and continue.
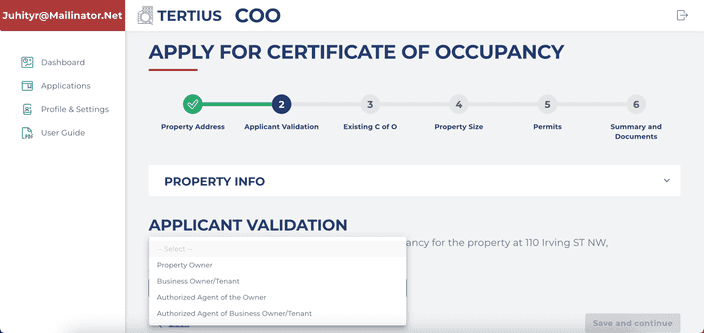
You can submit your application as a(n)
- Property Owner
- Business Owner/Tenant
- Authorized Agent of the Owner
- Authorized Agent of Business Owner/Tenant
Different pieces of information and documents are requested from the different types of applicants.
Please note that if you submit your application as an Authorized Agent of the Owner/Business Owner/Tenant, you will need to upload a signed affidavit at the end of the application process (step 6).
- Select Property Owner from the Who is applying drop-down.
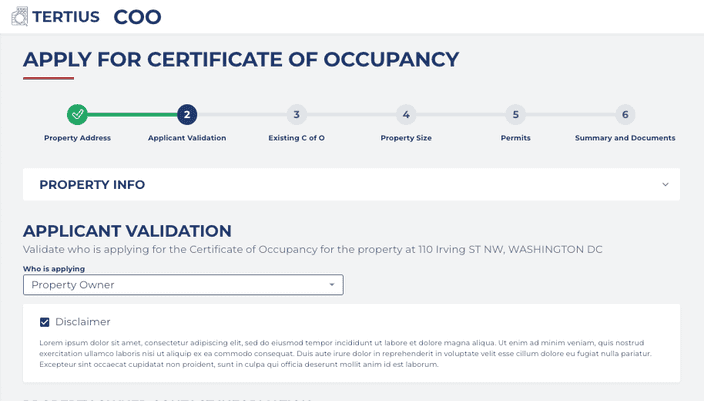
- Accept the disclaimer.

The Property info box is closed by default, but you can always check it by clicking on the Property info area at the top of the page.
-
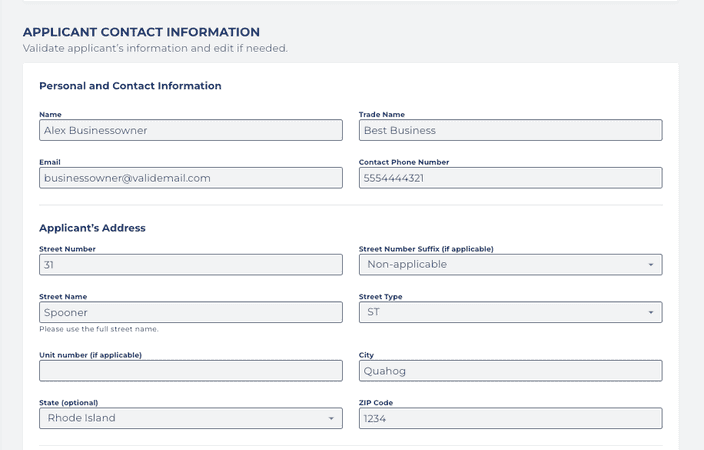
Provide your contact information.
-
Provide contact information of the person who will be responsible for answering questions and submitting additional documentation as requested by DOB.
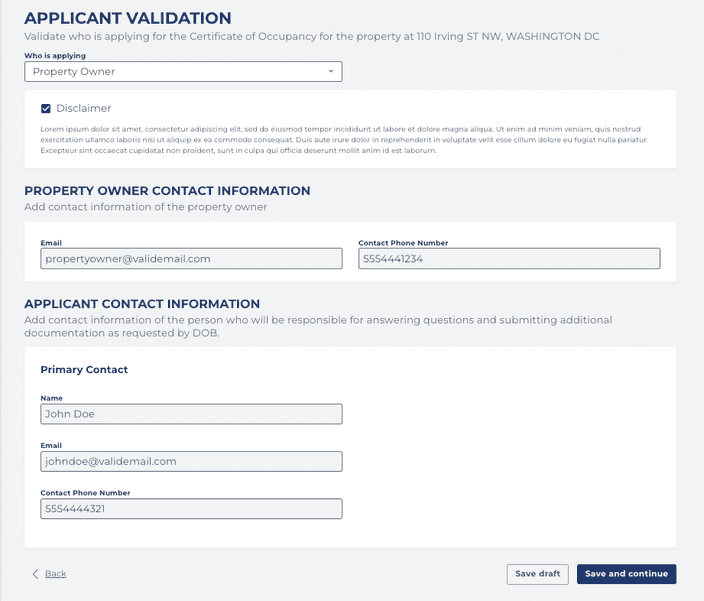
All fields are required by default and you have to enter data to proceed, unless they are marked as if applicable.
-
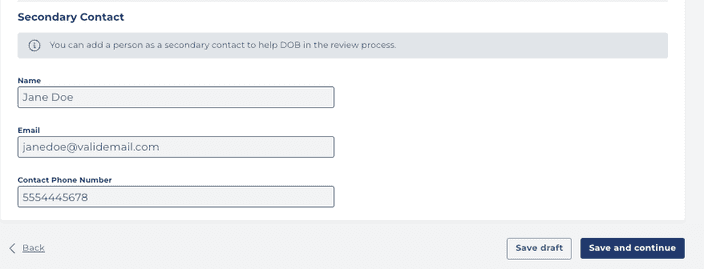
You can optionally add a secondary contact to help DOB in the review process.
-
Click on Save and continue.
- Select Business Owner/Tenant from the Who is applying drop-down.
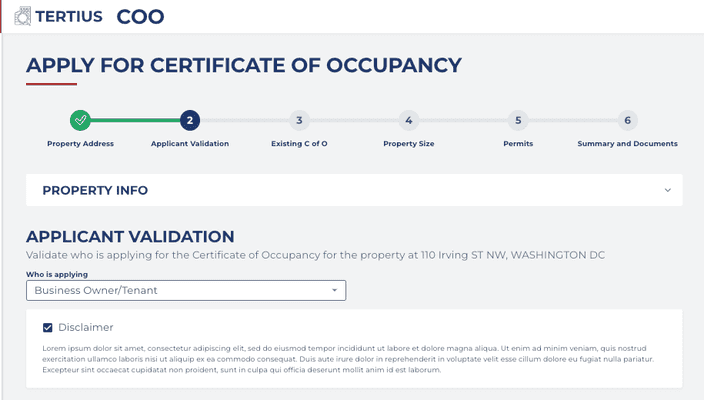
- Accept the disclaimer.
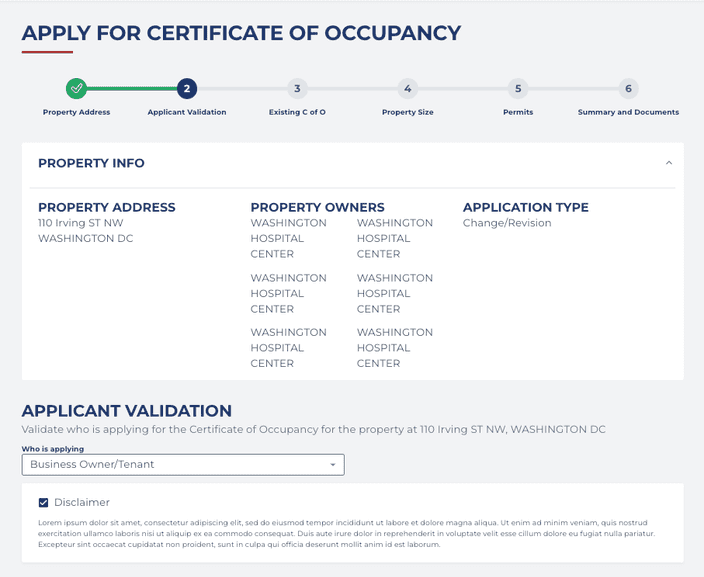
The Property info box is closed by default, but you can always check it by clicking on the Property info area at the top of the page.
- Add contact information of the property owner.

- Provide your personal contact information as a business owner. Trade name is important because this is the trade name that will show on the final Certificate of Occupancy, but it is not required.
All fields are required by default and you have to enter data to proceed, unless they are marked as if applicable.
- You can optionally add a secondary contact to help DOB in the review process.
- Click on Save and continue.
Please note that at the end of the application process (step 6) you will need to upload the signed affidavit from the property owner/business owner/tenant.
- Select Authorized Agent of the Owner from the Who is applying drop-down.
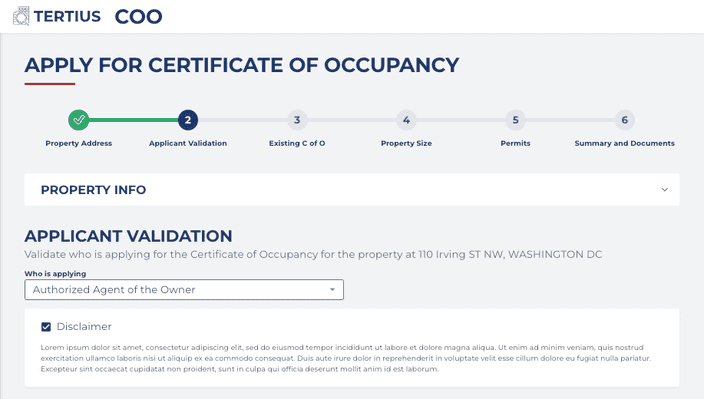
- Accept the disclaimer.
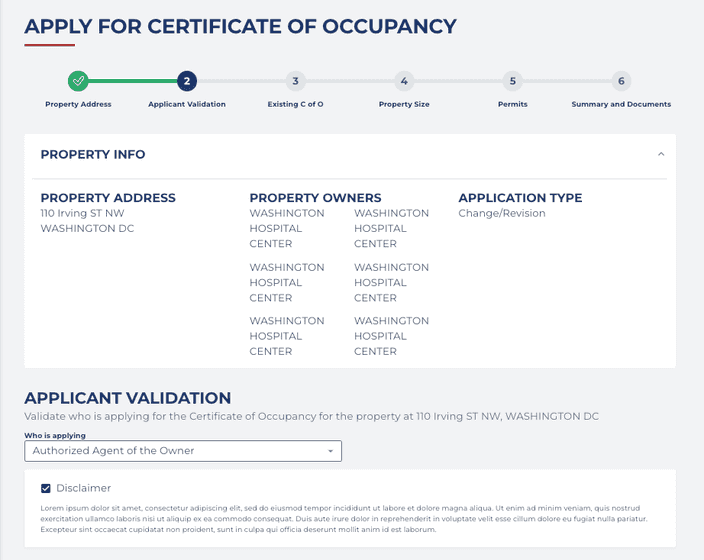
The Property info box is closed by default, but you can always check it by clicking on the Property info area at the top of the page.
- Add contact information of the property owner.
- Provide your personal contact information as an authorized agent of the owner. Trade name is important because this is the trade name that will show on the final Certificate of Occupancy, but it is not required.
All fields are required by default and you have to enter data to proceed, unless they are marked as if applicable.
- You can optionally add a secondary contact to help DOB in the review process.
- Click on Save and continue.
Please note that at the end of the application process (step 6) you will need to upload the signed affidavit from the property owner/business owner/tenant.
- Select _Authorized Agent of Business Owner/Tenant _from the Who is applying drop-down.
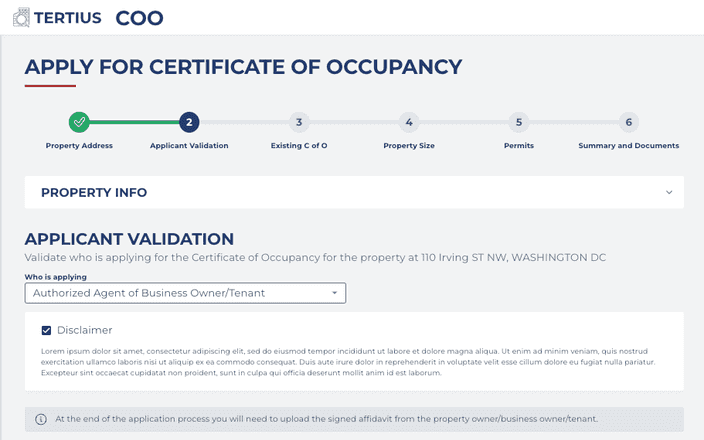
- Accept the disclaimer.
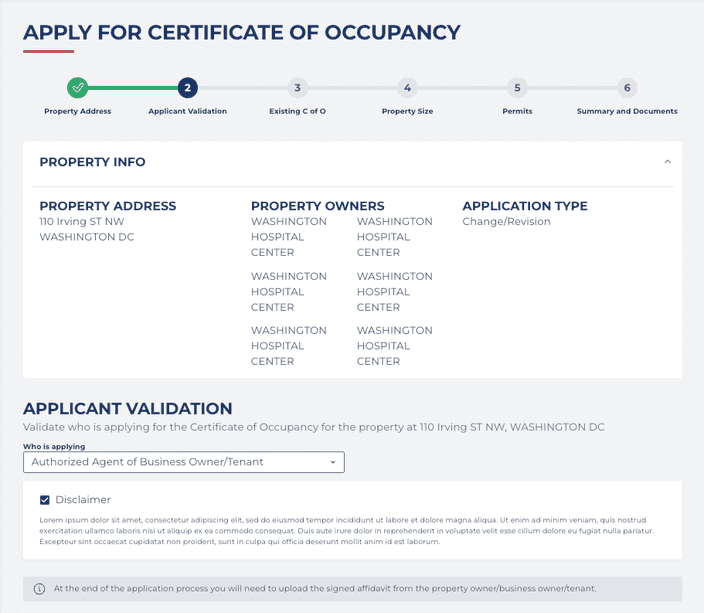
The Property info box is closed by default, but you can always check it by clicking on the Property info area at the top of the page.
- Add contact information of the property owner.
- Provide personal and contact information of the business owner/tenant. Trade name is important because this is the trade name that will show on the final Certificate of Occupancy, but it is not required.
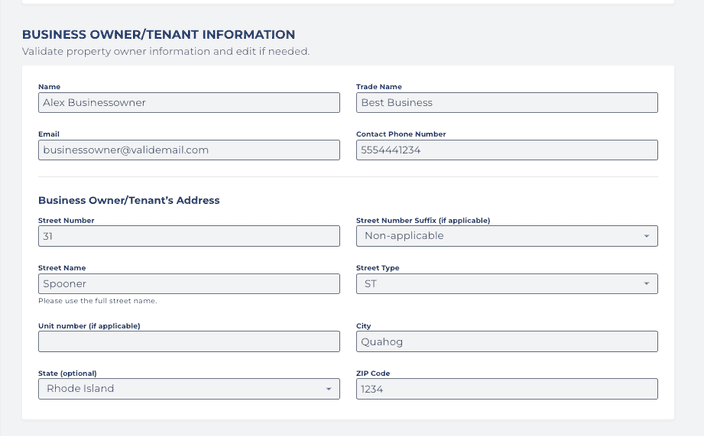
All fields are required by default and you have to enter data to proceed, unless they are marked as if applicable.
- Provide your information as an authorized agent of the business owner/tenant.
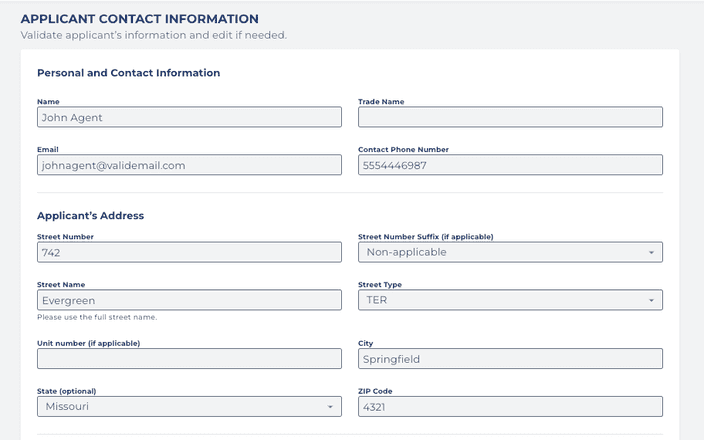
All fields are required by default and you have to enter data to proceed, unless they are marked as if applicable.
- You can optionally add a secondary contact to help DOB in the review process.
- Click on Save and continue.
Requirements:
If you want to change the use of the property, you need to have a valid Certificate of Occupancy (C of O) for that property.
Depending on the issue date of the C of O, you need to select one of the following options:
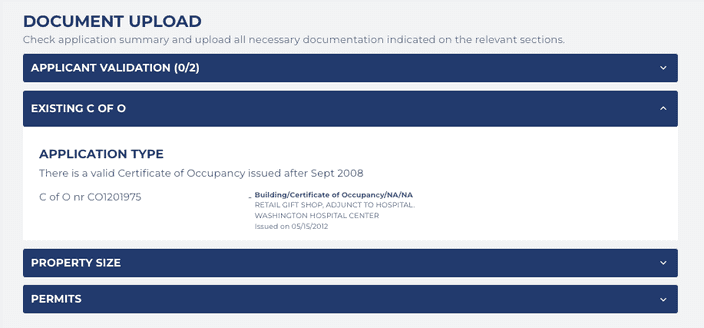
- There is a valid Certificate of Occupancy issued after Sept 2008
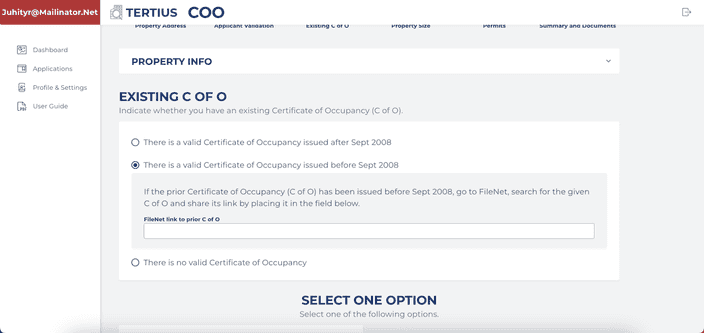
- There is a valid Certificate of Occupancy issued before Sept 2008
The issue date is important because the C of Os are stored in different databases depending on this information, so you need to search for them in the correct database to proceed.
-
Select the first option: There is a valid Certificate of Occupancy issued after Sept 2008.
-
Click the Search database for C of O of the address button.
-
Choose the correct C of O from the result list.

- Select Change/Revision at the bottom of the page.
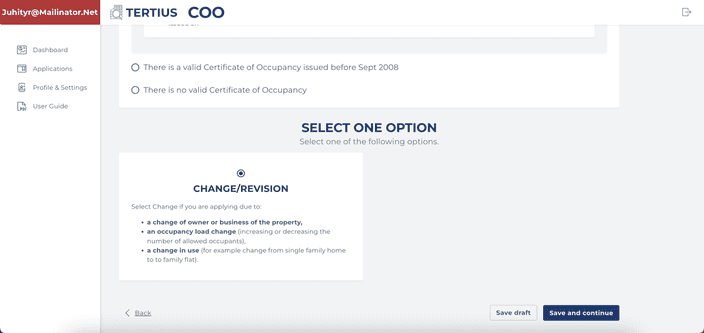
- Click on Save and continue at the bottom of the page.
-
Select the second option: There is a valid Certificate of Occupancy issued before Sept 2008.
-
Click on the link that navigates you to the FileNet database.
-
Search for C of O in the FileNet database.
-
Copy the URL of the C of O.
-
Navigate back to the Tertius application form and paste the URL into the field.
- Select Change/Revision at the bottom of the page.
- Click on Save and continue at the bottom of the page.
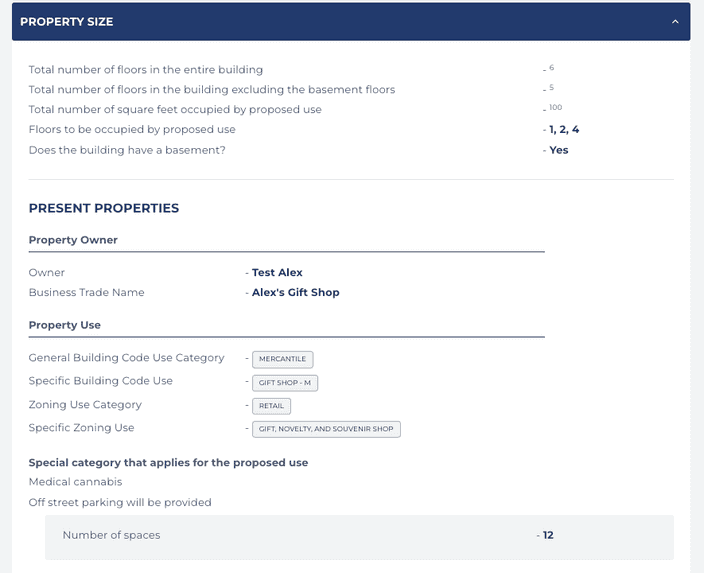
- Fill the form about the size of the property. Check the helping explanations below the fields for further details.
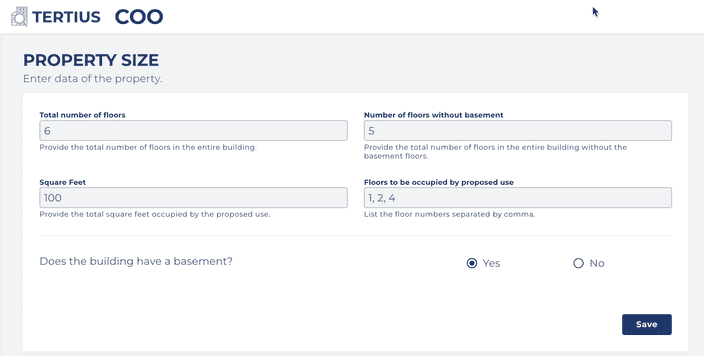
All fields are required by default and you have to enter data to proceed, unless it is marked as if applicable.
-
Click on Save.
-
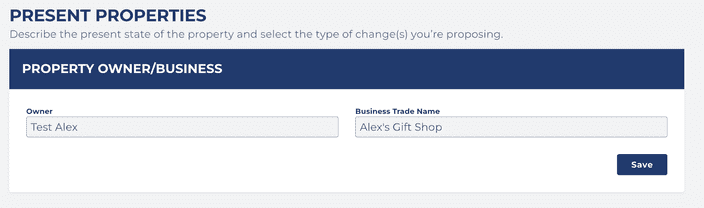
Provide information about the present state of the property regarding the present certificate owner’s name and Business Trade Name. The data you add here needs to match the information in the existing C of F.
-
Click on Save.
-
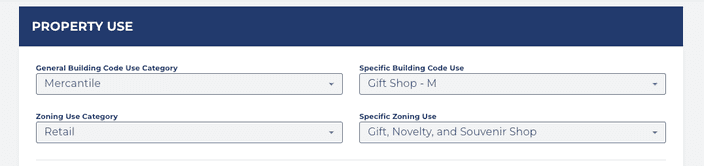
Provide information about the present state of the property use by selecting the categories from the drop-down. The general building code use and zoning use categories are similar, but from a different point of view. Visit the General Building Code Use Categories page for more information.
- Select attributes that are applicable for the present use of the property. There are certain attributes that require more in-depth information, so answer all the questions that are shown up with gray background in the form.
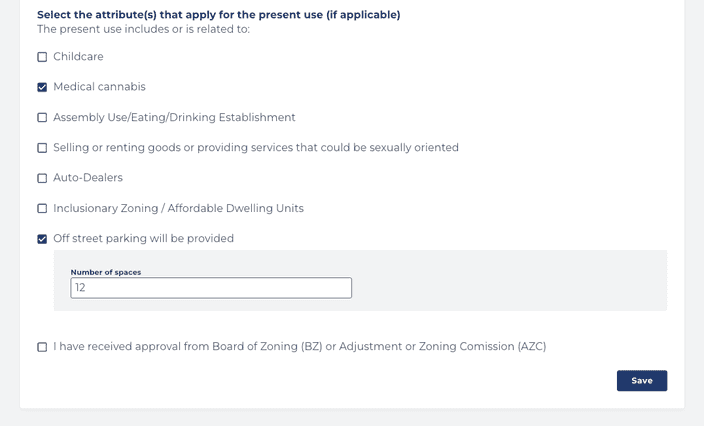
If you select I have received approval from Board of Zoning (BZ) or Adjustment or Zoning Comission (AZC), you have to upload the order and a letter or matrix, with attachments as necessary, from the property owner at Step 6.
- Click on Save.
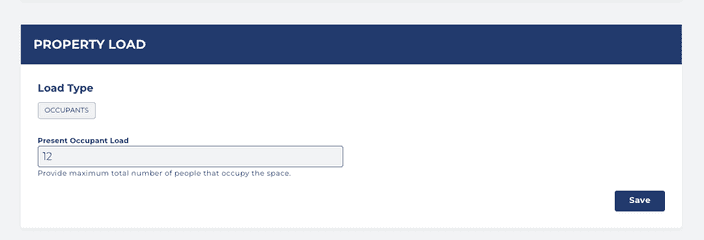
IMPORTANT: Always save this section about the property use information before you go to the next section, because the information that you need to provide for property load and occupant load is defined by what you provided in the property use.
- Provide information about property load and occupant load.
-
Click on Save.
-
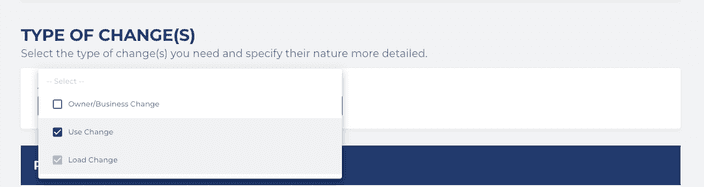
Select Use change from the drop-down at the Type of change(s) section. The change of use affects the change of load, so it will automatically be selected as well and the use defines what information is requested on load.
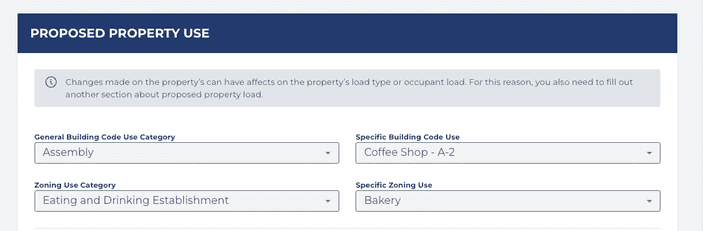
- Provide information on the Proposed property use.
- Select attributes that are applicable for the proposed use of the property. There are certain attributes that require more in-depth information, so answer all the questions that are shown up with gray background in the form.
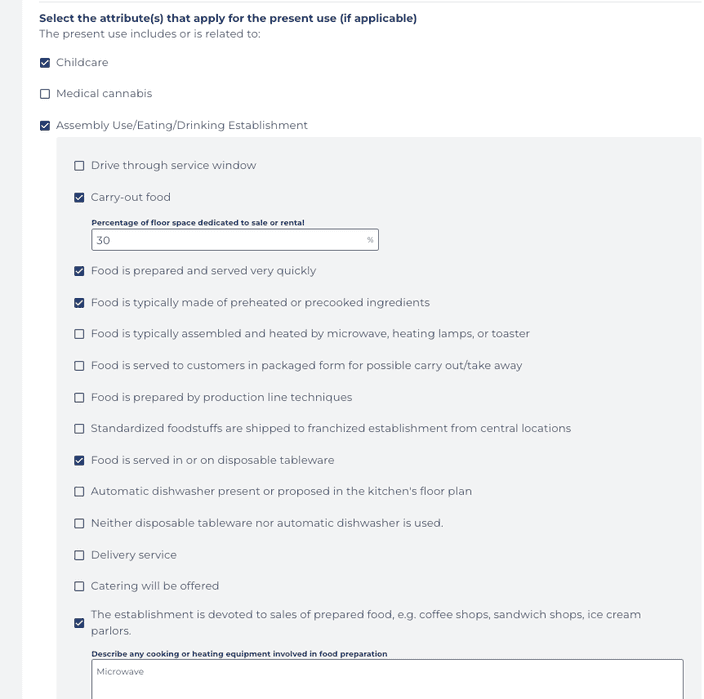
-
Click on Save.
-
Provide information on the proposed property load. The requested information will be dependent on what you defined in the earlier steps.
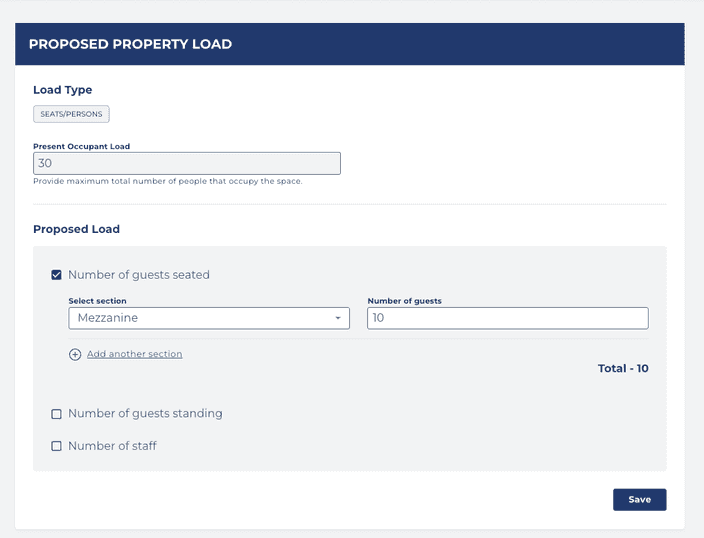
You can always add more sections to provide all the necessary information by clicking on the Add another section button below the fields.
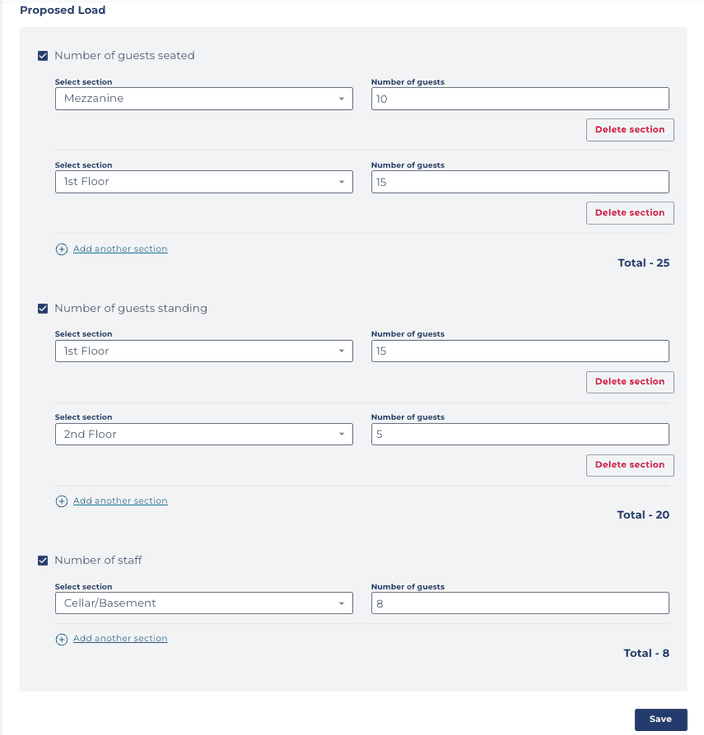
-
Click on Save.
-
Make sure you provided all the required information and saved all sections separately. Click on Save and continue at the bottom of the page.
Select whether you want to apply for a Permanent or a Conditional Certificate of Occupancy.
Conditional Certificate of Occupancies are for cases where the construction is not completed yet, but you need the C of O before its completion.
- Select Permanent at the type of certificate of occupancy.
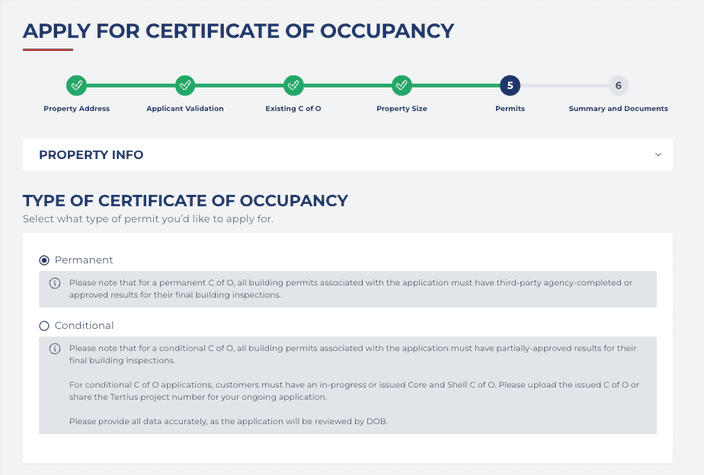
IMPORTANT: Please note that for a permanent C of O, all building permits associated with the application must have Third-party completed or Approved results for their Building Final inspections.
- You will see the address of the property you provided in the very first step. Click on the Search for permit button to see all issued building permits at the provided address.
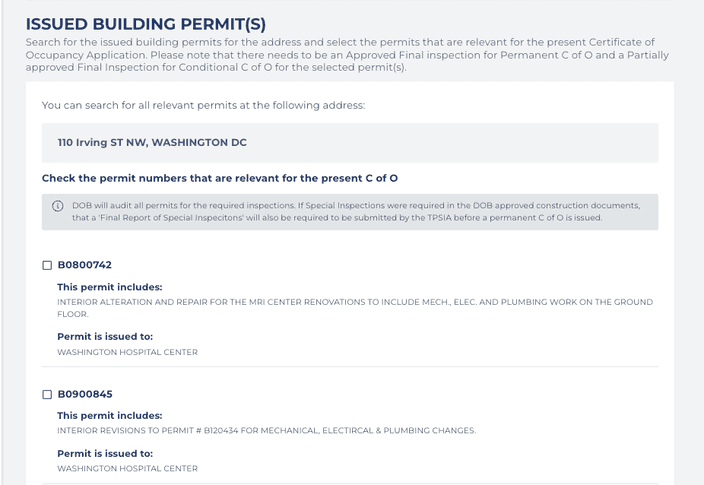
- Select the permit or permits that are associated with the application from the list and click Check inspection results. Knowing the permit number will make the search easier.
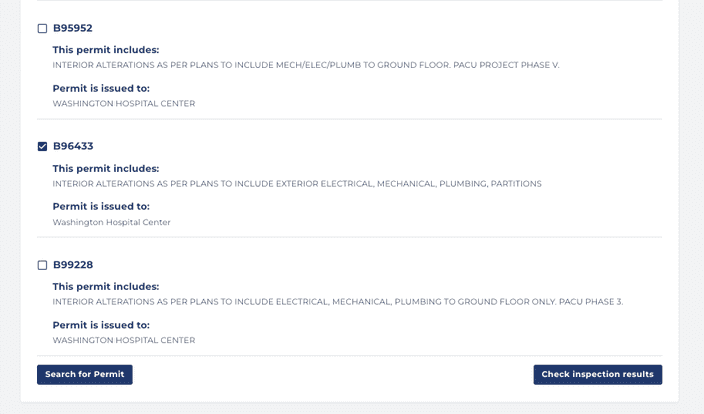
- You can only apply for a Certificate of Occupancy if you have the approved result for the Building Final inspection.
If you receive an error message stating that the Building Final inspection is missing, you can’t submit your application.
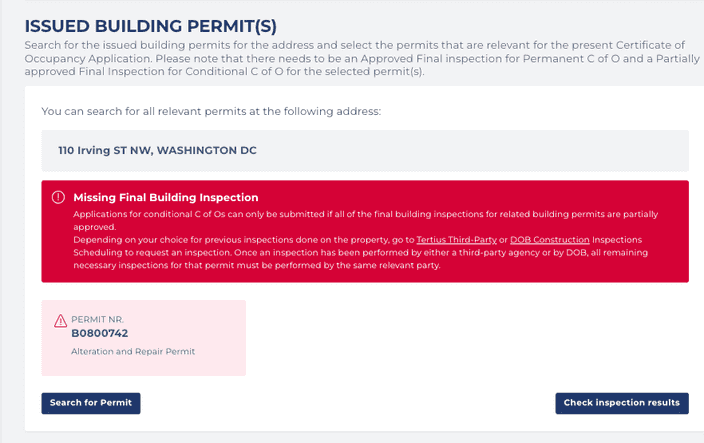
In this case, click Save draft at the bottom of the page and you can finish your application if you get the necessary inspection done. Please turn to your third-party inspection agency or DOB scheduling system depending on who did the previous inspections on your permits.
Get back to the application form later and click Check inspection results again to finish the application.
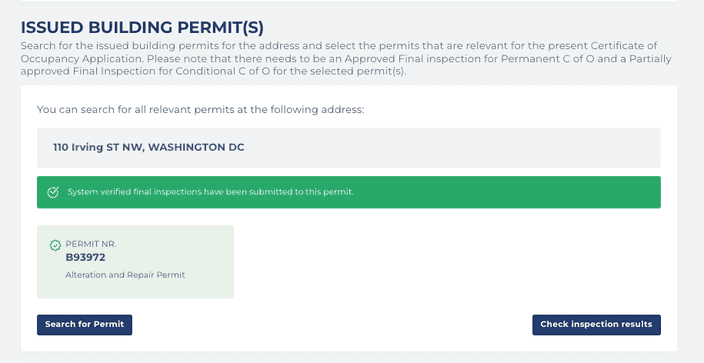
Otherwise, you will receive a success message that the permit is verified.
- Add contact details of the person at the construction site DOB inspectors can reach out to if they need to schedule an inspection.
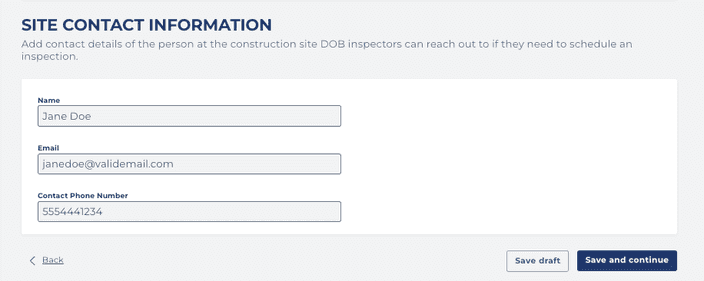
- Click on Save and continue.
Requirements:
- You have to upload fire and life safety plans showing egress and areas to be occupied.
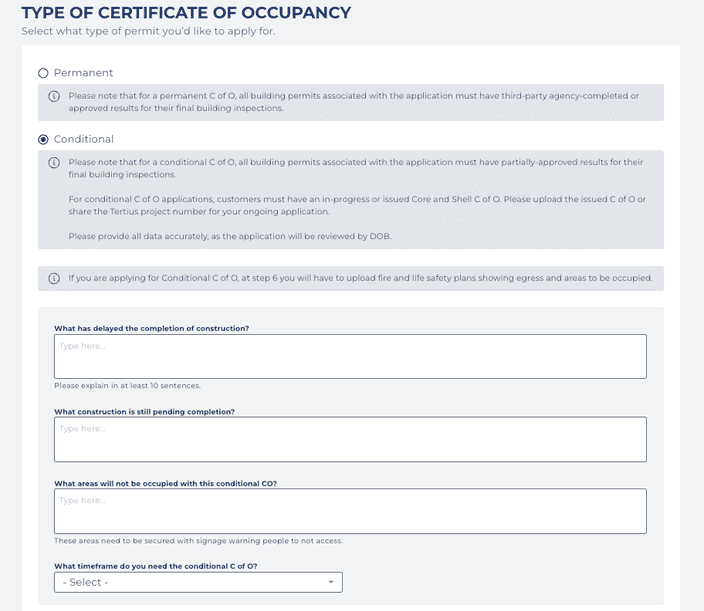
Conditional Certificate of Occupancies are for cases where the construction is not completed yet, but you need the C of O before its completion and you need to answer questions about what delayed the completion of construction.
Please note that for a conditional C of O, all building permits associated with the application must have partially-approved results for their final building inspections.
For conditional C of O applications, customers must have an in-progress or issued Core and Shell C of O. Please upload the issued C of O or share the Tertius project number for your ongoing application.
Please provide all data accurately, as the application will be reviewed by DOB.
- Select Conditional at the type of certificate of occupancy.
-
Answer the questions on the form about the conditions of the completion. All fields are required by default and you have to enter data to proceed.
-
Please note that you will need to upload fire and life safety plans showing egress and areas to be occupied later (at step 6) during the application process.
-
You will see the address of the property you provided in the very first step. Click on the Search for permit button to see the permits that are available at the provided address.
- Select the permit that is associated with the application from the list and click Check inspection results. Knowing the permit number will make the search easier.
- The certificate of occupancy can only be applied for if you have the necessary result for the building final inspection.
If you receive an error message stating that the final building inspection is missing, you can’t submit your application.
In this case, click Save draft at the bottom of the page and you can finish your application if you get the necessary inspection done. Get back to the application form later and click Check inspection results again to finish the application.
Otherwise, you will receive a success message that the permit is verified.
- Add contact details of the person at the construction site DOB inspectors can reach out to if they need to schedule an inspection.
- Click on Save and continue.
On this page, you can see the summary of the application process and the number in the different sections (for example, Applicant validation (0/2)) indicates the missing documents you need to upload in this step. You also have to select the date of the inspection and agree with the statements written under Certification before submitting the application.
You can open all sections by clicking on them and go through the information you provided in the previous steps to check if the information was correct or you can go back and make changes. Please keep in mind that if you change any information at a Step you'll need to fill out the consequent steps again since the information required might be different.
The Property info box is also closed by default, but you can always check it by clicking on the Property info area at the top of the page.
- Click on the Applicant validation box to expand it and review the data you provided earlier. Upload the missing documents indicated by the form if applicable.
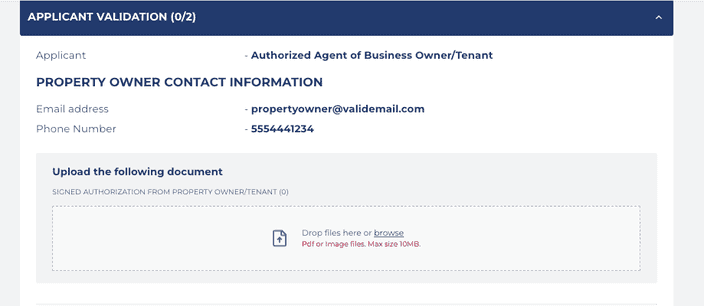
These are the documents that will allow DOB Inspectors to enter the property.
- Click on the Existing C of O box and review the data you provided earlier. If something is incorrect or missing, go back to step 3 and edit the form.
- Click on the Property size box and review the data you provided earlier. Upload the missing documents indicated by the form if applicable. If something is incorrect or missing, go back to step 4 and edit the form.
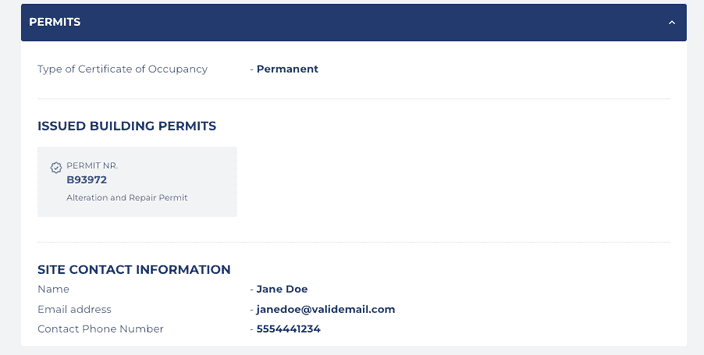
- Click on the Permits box and review the data you provided earlier. If something is incorrect or missing, go back to step 5 and edit the form.
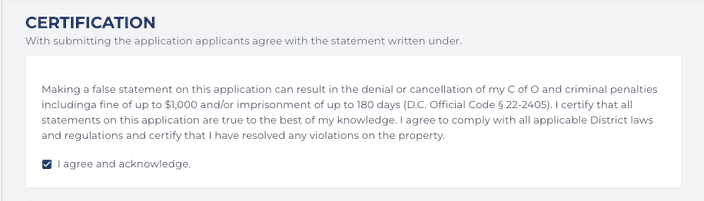
- You must agree with the statement written under. Click on I agree and acknowledge.
- Click in the Inspections Date field and select a date in the next 2 weeks from the appearing calendar.
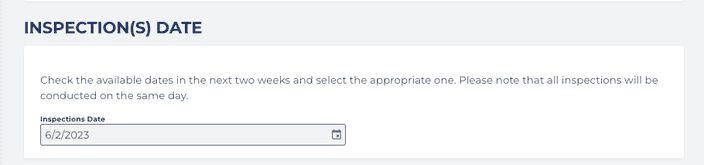
The earliest date you can select is the date 72 hours after the application is submitted and you are requested to select the date in the next 3 days. DOB can only issue the Certificate of Occupancy within the 7-business day SLA if the inspection is scheduled between day 3-5 of the review process.
- You must agree with the conditions of the process at the bottom of the page.
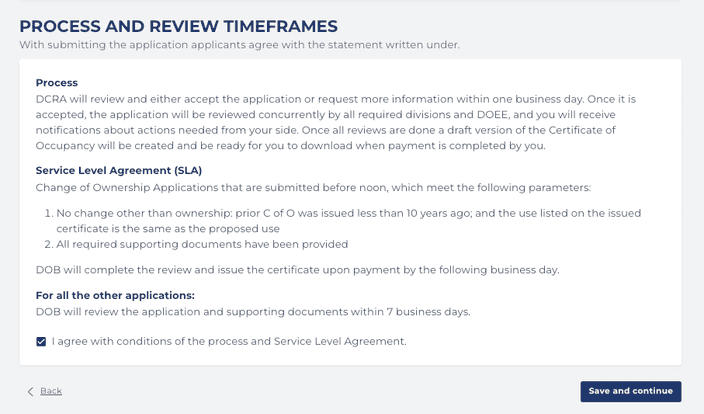
- Click on Save and continue to submit your application.